

Overview
In one of our recent projects, we had an interesting case: the whole application was built around an interactive map for a fairly large shopping mall, and the main goal of the system was to plot the closest route to a user-selected destination. What makes it more interesting is that the map itself was designed by our partners, so we had to interact with a design agency and process updates on the fly.
But as they say, a picture is worth a thousand words:

Svg as a graph representation
Obviously, to solve such a task, one can use the graph and all this mankind’s legacy related to pathfinding solutions. But the problem is that it is very difficult to use svg files as they are and convert them to graph-like entities. Although there are libraries that allow you to find path between arbitrary points on svg, and the result will look something like this:
Not very impressive, right? And there is also a problem with wall/hall markers, and I'm not even saying that it will be a separate pain after each update to divide svg files prepared by the customer into cells. And I get frustrated before I start thinking about performance with this approach.
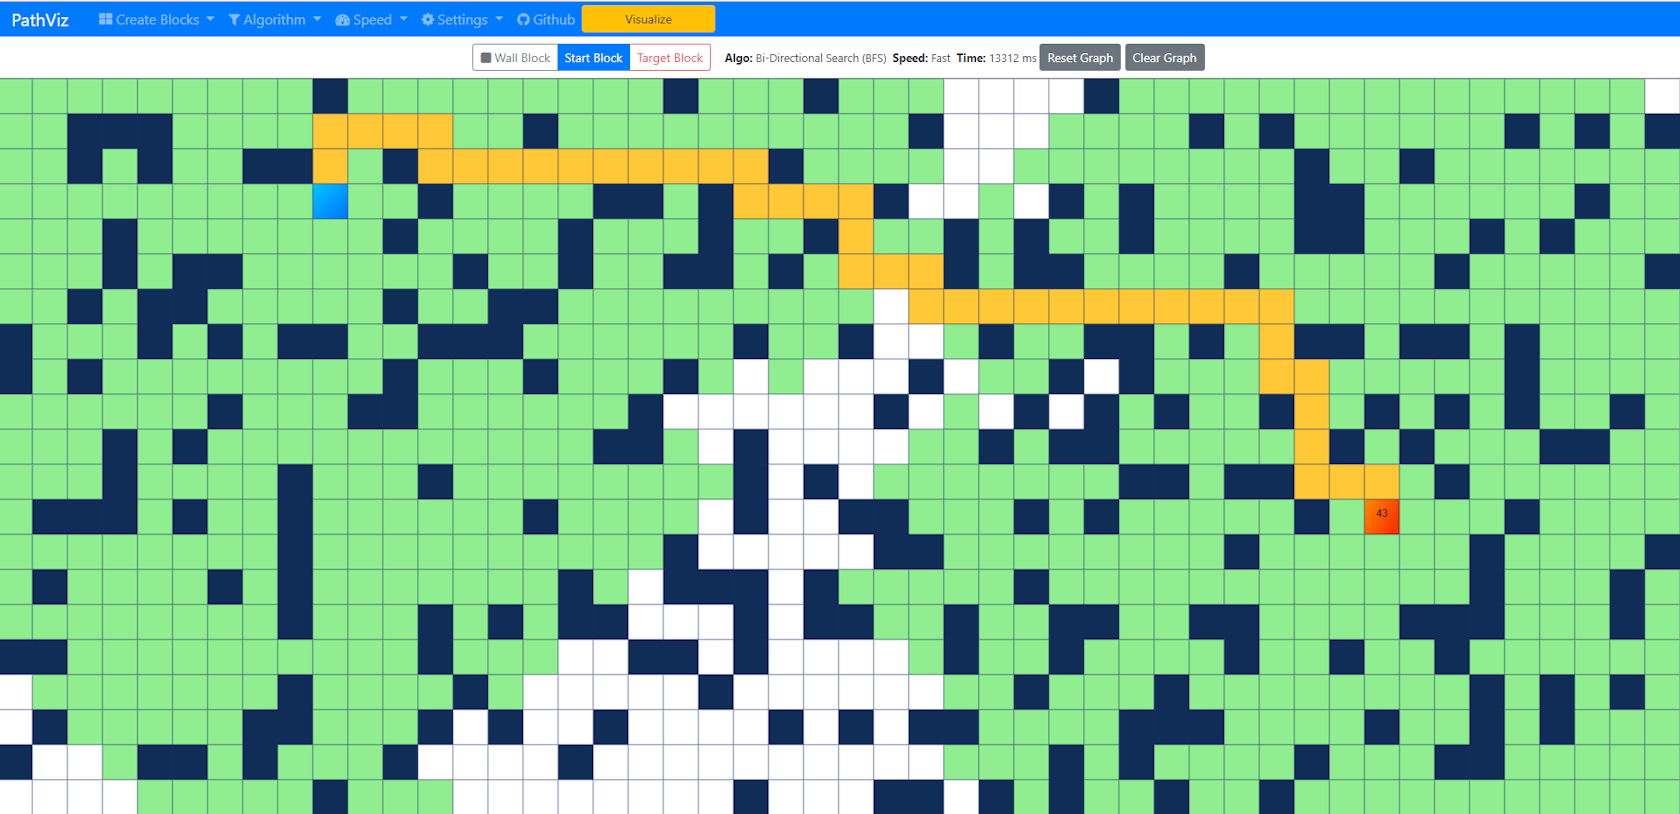
Fortunately, it is not the only one. After some research and discussions with map authors, we decided to draw all possible routes in the building, but use them only to build graph nodes, and not to display them in the UI. So, the map with displayed routes looks like this:

Svg parsing
Enough said, let's finally look at the code.
types.ts
export type RouteElement =
  | Element
  | SVGLineElement

export type RoutePoint = {
  x: number
  y: number
  id: string
  distance: number
  previous?: RoutePoint
  links: RouteLink[]
}

export type RouteLink = {
  to: RoutePoint
  distance: number
}
We use line coordinates to create RoutePoint - graph node. Two per line, as they represent graph edge.
graph.ts
/**
 * Build graph with given routes element
 * Get svg points and use coordinates to create graph points
 * @param {Element} routes - route lines container
 * @returns {RoutePoint[]} - graph points
 */
export function getGraph(
  routes: Element,
  points: RoutePoint[] = [],
  options = graphOptions
): RoutePoint[] {
  const children: RouteElement[] = Array.from(routes.children)
  children.forEach(function (route) {
    if (isLine(route)) {
      handleLine(route, points, options)
    } else {
      console.error(`Invalid element in routes: ${route.tagName}`)
    }
  })

  return points
}

function isLine(route: RouteElement): route is SVGLineElement {
  return route.tagName === 'line'
}

function handleLine(
  route: SVGLineElement,
  points: RoutePoint[]
): void {
  const id = route.id
  const pointA = addPoint(
    route.x1.baseVal.value,
    route.y1.baseVal.value,
    id,
    points
  )
  const pointB = addPoint(
    route.x2.baseVal.value,
    route.y2.baseVal.value,
    id,
    points
  )
  const distance = getDistance(pointA, pointB)
  linkPoint(pointA, pointB, distance)
  linkPoint(pointB, pointA, distance)
}

function getDistance(a: RoutePoint, b: RoutePoint): number {
  return Math.sqrt(Math.pow(a.x - b.x, 2) + Math.pow(a.y - b.y, 2))
}
However, we have a comprehensive docstring, let's try to understand what is happening with the processing of these lines. Let's imagine we have an svg with a group of routes like this:
map.svg
 ...


...
What happens if we call our getGraph function with these routes as a parameter:
const routes = document.querySelector('#routes')
if (routes !== null) {
  graph = getGraph(routes, graph, options.graph)
}
First, we get an array of child elements (lines) of the routes. Then iterate over each element and check if it is a valid svg line element and get its coordinates to pass to the addPoint function, then calculate the distance and link those points together using linkPoint. Let's now look at these functions.
Graph
Here we are going to fill the graph with points coming from our svg lines:
graph.ts
export function addPoint(
  x: number,
  y: number,
  id: string,
  points: RoutePoint[],
): RoutePoint {
  const foundPoint = findPoint(points, x, y)
  if (foundPoint) return foundPoint

  const point = {
    x,
    y,
    id,
    distance: Number.POSITIVE_INFINITY,
    previous: undefined,
    links: [],
  }
  points.push(point)
  return point
}

export function linkPoint(
  pointA: RoutePoint,
  pointB: RoutePoint,
  distance: number
): void {
  const linkPoints = pointA.links.map((link) => link.to)
  if (!findPoint(linkPoints, pointB.x, pointB.y)) {
    pointA.links.push({ to: pointB, distance })
  }
}

export function findPoint(
  points: RoutePoint[],
  x: number,
  y: number
): RoutePoint {
  return points.find((point) => point.x === x && point.y === y)
}
Simple. We only check if there is already a point with exactly the same coordinates and simply put it into the array of points.
Warning: we're mutating the points argument inside addPoint, but in this particular case that's ok, since we're doing it inside the getGraph scope, where we create it with an empty value.
From now on, we have a graph, and now we need to find the path between the desired locations. Let's do that.
Pathfinding
graph.ts
/**
 * Find closest path between from/to locations in given graph points
 * It looks from/to points by provided Id
 * Return empty array in case there is no from/to points or path
 * @param {RoutePoint[]} points - graph points
 * @param {string} from - location from id
 * @param {string} to - location to id
 * @returns {RoutePoint[]} - path points
 */
export function getPath(
  points: RoutePoint[],
  from: string,
  to: string,
  options = pathOptions
): RoutePoint[] {
  const pointPrefix = options.pointIdPrefix
  const pointsFrom = filterPointsByLocationId(points, from, pointPrefix)
  const pointsTo = filterPointsByLocationId(points, to, pointPrefix)

  if (!pointsFrom.length || !pointsTo.length) return []

  clearPath(points)
  pointsFrom.forEach((pointFrom) => pointFrom.distance = 0)
  setPathPoints(points)

  return getPathPoints(pointsTo)
}

export function clearPath(points: RoutePoint[]): void {
  for (const point of points) {
    point.previous = undefined
    point.distance = Number.POSITIVE_INFINITY
  }
}

export function setPathPoints(points: RoutePoint[]): void {
  const pointsQ = [...points]

  while (pointsQ.length > 0) {
    let qIndex = 0
    let minDistance = Number.POSITIVE_INFINITY

    for (let index = 0; index < pointsQ.length; index++) {
      if (pointsQ[index].distance < minDistance) {
        qIndex = index
        minDistance = pointsQ[index].distance
      }
    }

    const point = pointsQ[qIndex]
    pointsQ.splice(qIndex, 1)

    for (const link of point.links) {
      const alt = point.distance + link.distance
      if (alt < link.to.distance) {
        link.to.distance = alt
        link.to.previous = point
      }
    }
  }
}

export function getPathPoints(pointsTo: RoutePoint[]): RoutePoint[] {
  const path = []
  let target = null
  let min = Number.POSITIVE_INFINITY

  for (const pointTo of pointsTo) {
    if (pointTo.distance < min) {
      target = pointTo
      min = target.distance
    }
  }
  if (!target) return []

  path.push(target)

  while (target.previous !== undefined) {
    target = target.previous
    path.unshift(target)
  }

  return path
}
It's definitely not the most elegant way to find a path in a graph, but it has one undeniable advantage: it's simple. This means that it can be easily maintained and updated if the logic needs to change.
We define an empty path array and filter points that match by id with the from/to arguments. clearPath resets point’s previous and distance attributes to default values among all graph points. This is necessary so that there are no side effects from the previous pathfinding attempt.
For all (normally just one) pointsFrom we set distance = 0 to indicate that we start pathfinding from there.
Inside setPathPoints we create a shallow copy of all graph points and iterate over them to find a starting point. We slice it out of from pointsQ and process its links inside another nested loop. Here we calculate the total distance from the start of the path and set that point as the previous one with the distance updated.
Next, within getPathPoints we create an empty path array and loop through pointsTo. If any of them (again, normally the only one) has a distance different from POSITIVE_INFINITY we set that as the path's target.
Finally we loop over previous point attribute and construct path array one by one.
We’ve done!
Now it’s time to draw a founded route.
Drawing
types.ts
export type DrawOptions = {
  mapSelector: string
  className: string
  smoothing: number
  lineColor: string
  lineWidth: string
  speed: number
}
constants.ts
export const drawOptions = {
  mapSelector: "#map",
  className: "route-path",
  smoothing: 5,
  lineColor: "rgb(242,0,0)",
  lineWidth: "2",
  speed: 3
}
draw.ts
/**
 * Draw route for given graph path
 * Add svg path element after map selector
 * @param {RoutePoint[]} path - graph path contains of route points
 * @param {DrawOptions} options - drawing options. has default value
 */
export function drawPath(
  path: RoutePoint[],
  options: DrawOptions = drawOptions
): void {
  removePath(options.className)

  const map = document.querySelector(options.mapSelector)
  if (map === null) return

  const svgPath = createPath()
  svgPath.setAttribute('class', options.className)
  svgPath.setAttribute('fill', 'none')
  svgPath.setAttribute('stroke', options.lineColor)
  svgPath.setAttribute('stroke-width', options.lineWidth)
  svgPath.setAttribute('d', getD(path, options.smoothing))

  map.after(svgPath)

  const distance = getPathDistance(path)
  const offset = distance / 100 / options.speed
  setStyle(svgPath, offset)
}

/**
 * Remove elements with given class name from DOM
 * @param {string} className - path class
 */
export function removePath(className: string): void {
  document.querySelectorAll(`.${className}`).forEach((path) => path.remove())
}

/**
 * Calculates relative distance for given path
 * @param {RoutePoint[]} path - path to get distance
 * @returns {number} - distance between last and first points of path
 */
export function getPathDistance(path: RoutePoint[]): number {
  const first = path[0]
  const last = path[path.length - 1]
  return last.distance - first.distance
}

function createPath(): SVGPathElement {
  return document.createElementNS('http://www.w3.org/2000/svg', 'path')
}
So, drawPath is pretty straightforward: we create svg path element and set its attributes with the values passed in options argument. What is interesting here is that d attribute, let’s look at it.
draw.ts
function getD(path: RoutePoint[], smoothing: number): string {
  let d = `M ${path[0].x},${path[0].y}`
  path.forEach((point, index) => {
    if (index > 0 && index < path.length - 1) {
      const prevPoint = getLinePoint(path[index], path[index - 1], smoothing)
      const nextPoint = getLinePoint(path[index], path[index + 1], smoothing)
      d += ` L${prevPoint.x},${prevPoint.y}`
      d += ` Q${point.x},${point.y}`
      d += ` ${nextPoint.x},${nextPoint.y}`
    } else {
      d += ` L${point.x},${point.y}`
    }
  })
  return d
}

function getLinePoint(
  pointA: RoutePoint,
  pointB: RoutePoint,
  smoothing: number
): { x: number; y: number } {
  const xLen = pointB.x - pointA.x
  const yLen = pointB.y - pointA.y
  const len = Math.abs(pointA.distance - pointB.distance)
  const size = Math.min(smoothing, len / 2)
  const r = size / len

  return {
    x: pointA.x + xLen * r,
    y: pointA.y + yLen * r,
  }
}
For me, who has never had a chance to work with svg, this was the hardest part, so I had to take an empirical approach and do some experimentation to get this working.
In any case, what we're doing here is starting by setting M with the coordinates of the first point in the path. Then iterate over the rest path points and kinda transform it back from an array of objects into a line. But since we're using a path element this time, we had to handle its coordinates internally. In short, we set L and Q of the previous and next points except for the last point in a path. In getLinePoint we calculate the coordinates of point that consider line smoothing. For the last point, we only set L parameter with point coordinates. As result, we got d attribute ready to be inserted into the page document with map.after(svgPath)
But let’s add some animation then.
draw.ts
function setStyle(svgPath: SVGPathElement, offset: number): void {
  const length = svgPath.getTotalLength()
  const transition = `stroke-dashoffset ${offset}s ease-in-out 0.4s`

  svgPath.style.strokeDasharray = `${length} ${length}`
  svgPath.style.strokeDashoffset = length.toString()

  svgPath.getBoundingClientRect()

  svgPath.style.transition = transition
  svgPath.style.strokeDashoffset = '0'
}
So we’ve calculated the offset above and set strokeDasharray and strokeDashoffset attributes. Now we can set transition and our route will draw nice and smooth. Yey!
Demo
I’ve prepared a code sandbox demo with full source code available, so you can play and see all the above in action.
Conclusion
However, at first glance, the problem that we got here seemed almost unsolvable, we used an integrated approach and solved it from two sides: visual and programmatic. The result makes it easy to change existing functionality and apply it to any similar tasks. For our project, we added support for multi-floor maps and the search for accessible routes for users with disabilities. We’ve also created a wrapper component for Vue to alleviate using this code inside the application. But this article already seems too detailed and thorough to cover all the use cases we had.
Obviously, there is a lot of space for improvements. For example, the pathfinding algorithm can be refactored to avoid mutating the initial graph.
But it seems that what we have done here is a good example of how navigation and route finding can look at the code level, with a more or less general approach.
Stay tuned

Subscribe for the news and updates
This article demonstrates how to use Python to automate yield calculations in decentralized finance (DeFi), focusing on the Renzo and Pendle platforms. It guides readers through estimating potential rewards based on factors like token prices, liquidity, and reward distribution rules, emphasizing the importance of regular data updates and informed decision-making in DeFi investments.

Earlier in our previous article "Improve efficiency of your SELECT queries" we discussed ways to profile and optimize the performance of SELECT queries. However, to write complex yet efficient SQL queries, there is a thing to remember about.

Protection of WEB App is of paramount importance and it should be afforded the same level of security as the intellectual rights or private property. I'm going to cover how to protect your web app.

Learn more about how to include jquery plugins in angular 2 running via webpack. Our tutorial is perfect for Angular beginners.

In my current project I had a task to use twitter API. Twitter uses OAuth for authentication, which is pretty dreary. To avoid fiddling with it all the time, I've moved authentication to decorator. If key is available - nothing happens, just view is launched as usual. It's convenient that there's no need for additional twitter settings in user profile. Code is in article.

There was a task to submit form with ajax, with server side validation of course. Obvious solution is to do validation and return json with erros. I didn't like idea of writing separate view for validation and then inserting errors in form html on client side. Especially since I already had a generic template for django form with errors display. In this article I'll describe how I solved the task.