Elastic beanstalk
AWS Elastic Beanstalk is an easy to use service for deployment and scaling up of web-applications and services developed on Java, .NET, PHP, Node.js, Python, Ruby, Go, Docker, and on Apache, Nginx, Passenger, IIS servers.
Just upload the code and Elastic Beanstalk will do auto-scaling: it'll allocate resources, balance the load, deal with automatic scaling and monitoring of a program. At the same time you retain full control over AWS resources for your use, and can access them at any time.
Local Django project
We create local work environment, activate it, install dependencies, initialize and run simple Django project:
$ virtualenv env-name
$ source env-name/bin/activate
$ pip install django
$ django-admin startproject sample
$ cd sample
$ ./manage.py runserver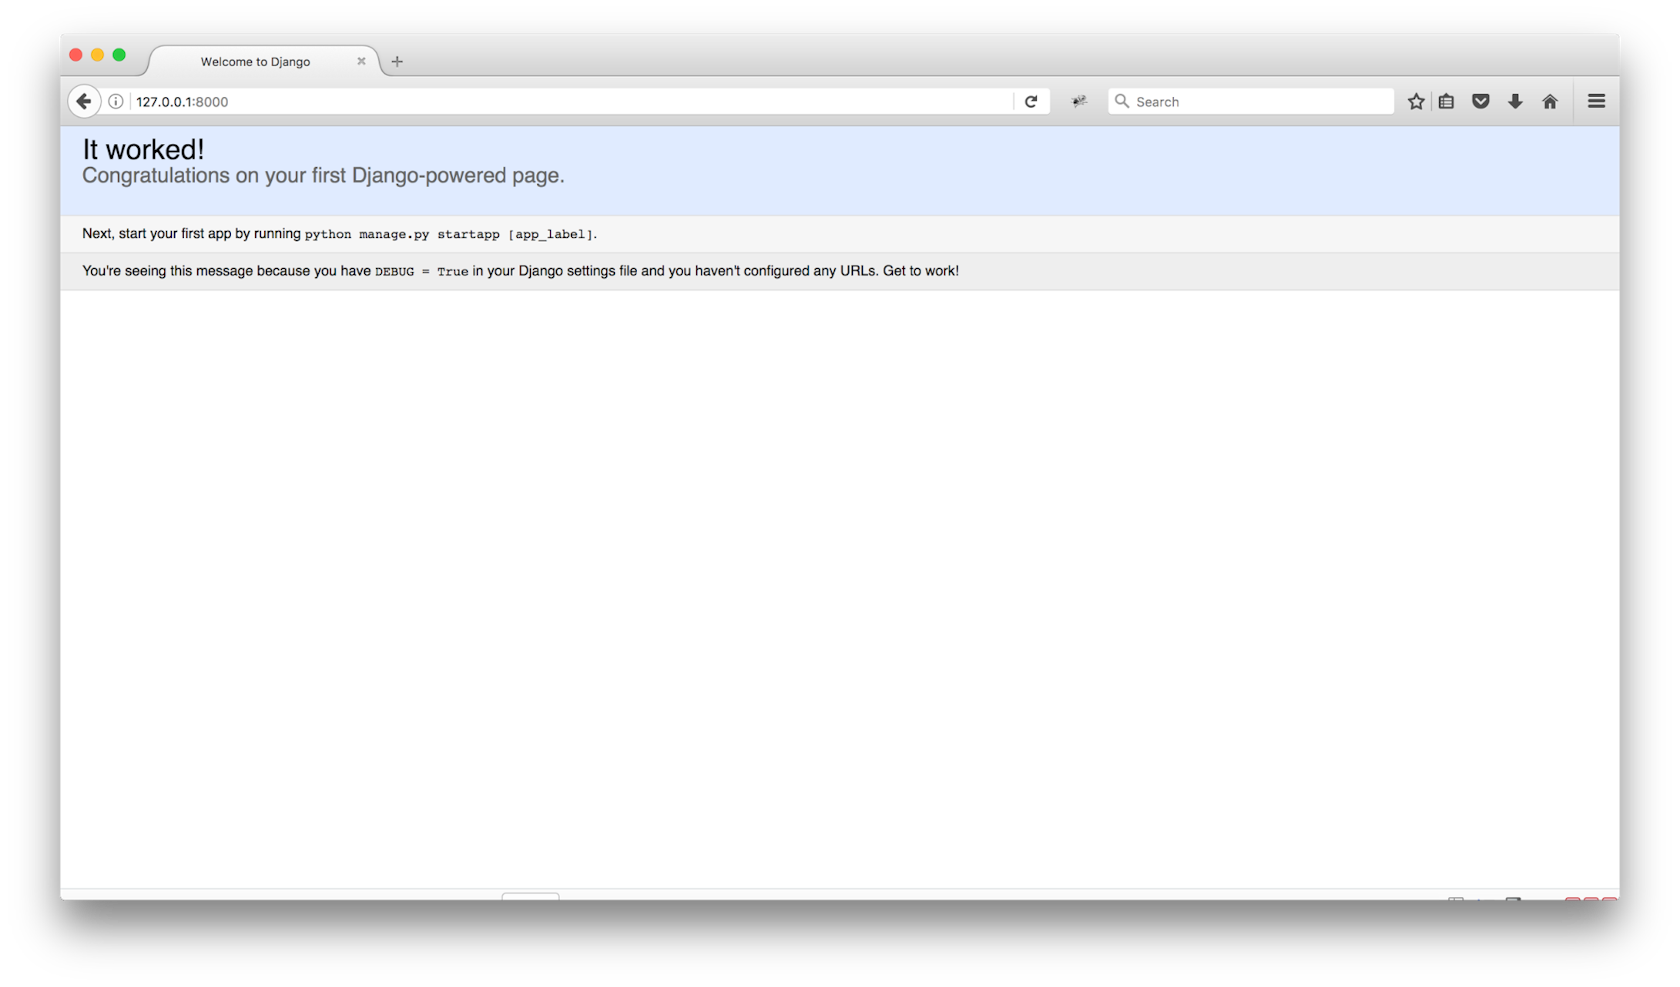
AWS setup
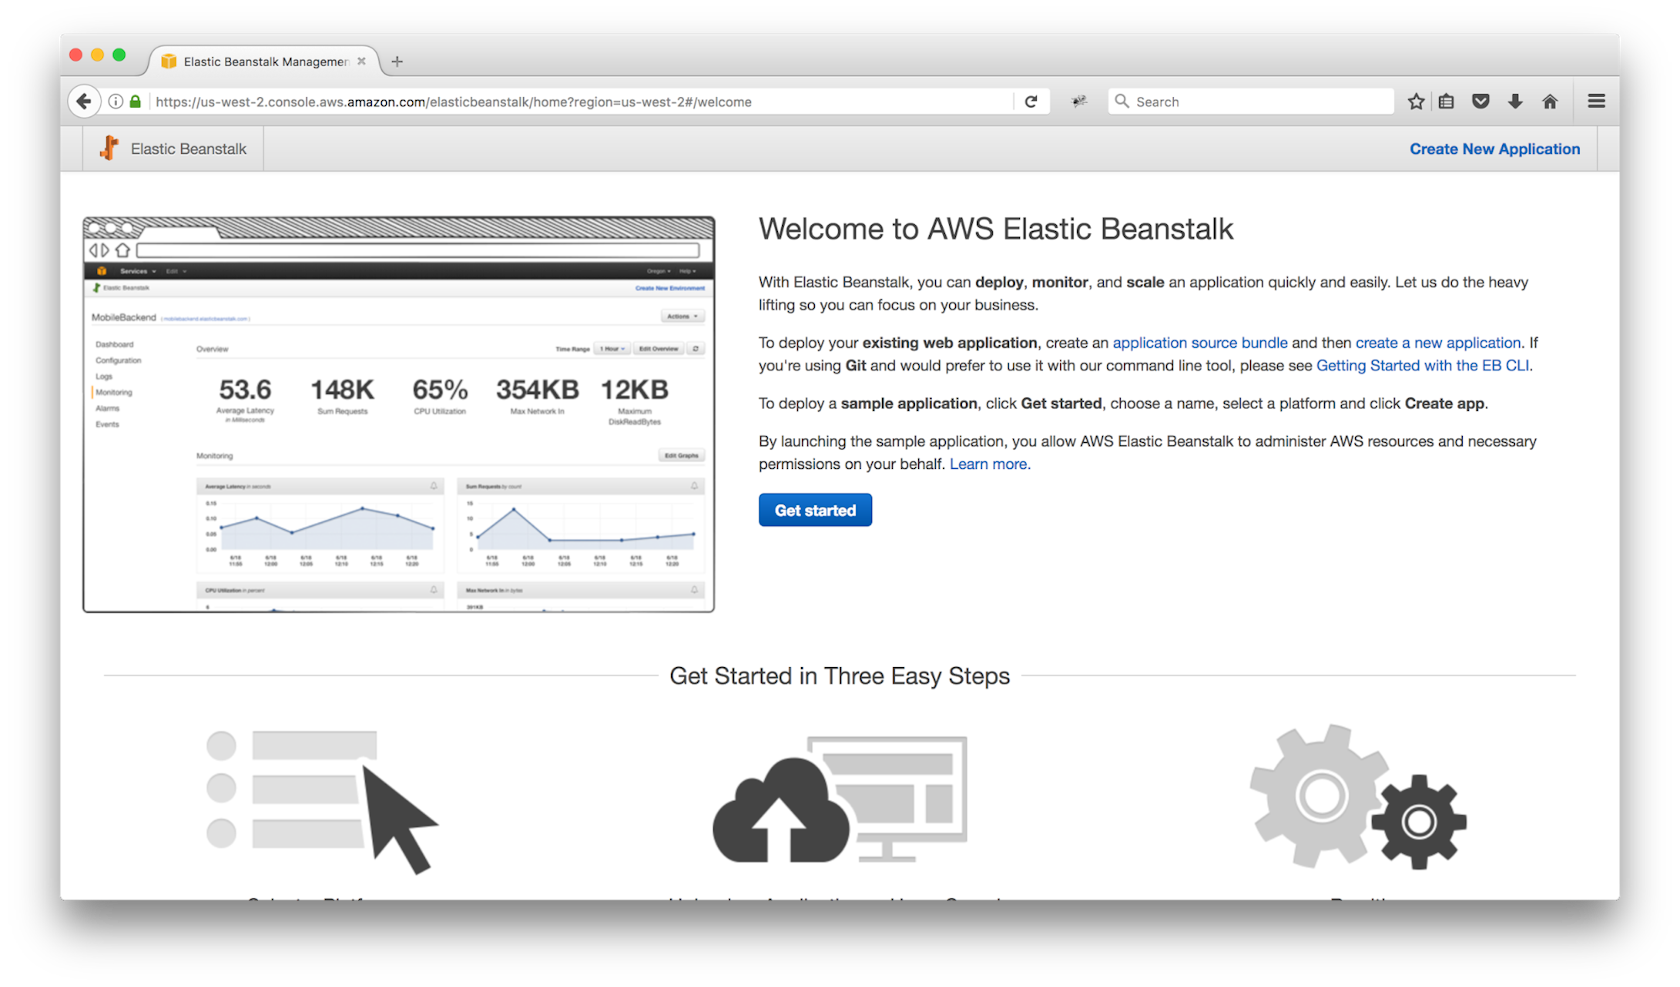
To create a project in AWS Elastic Beanstalk, we need to go to the console
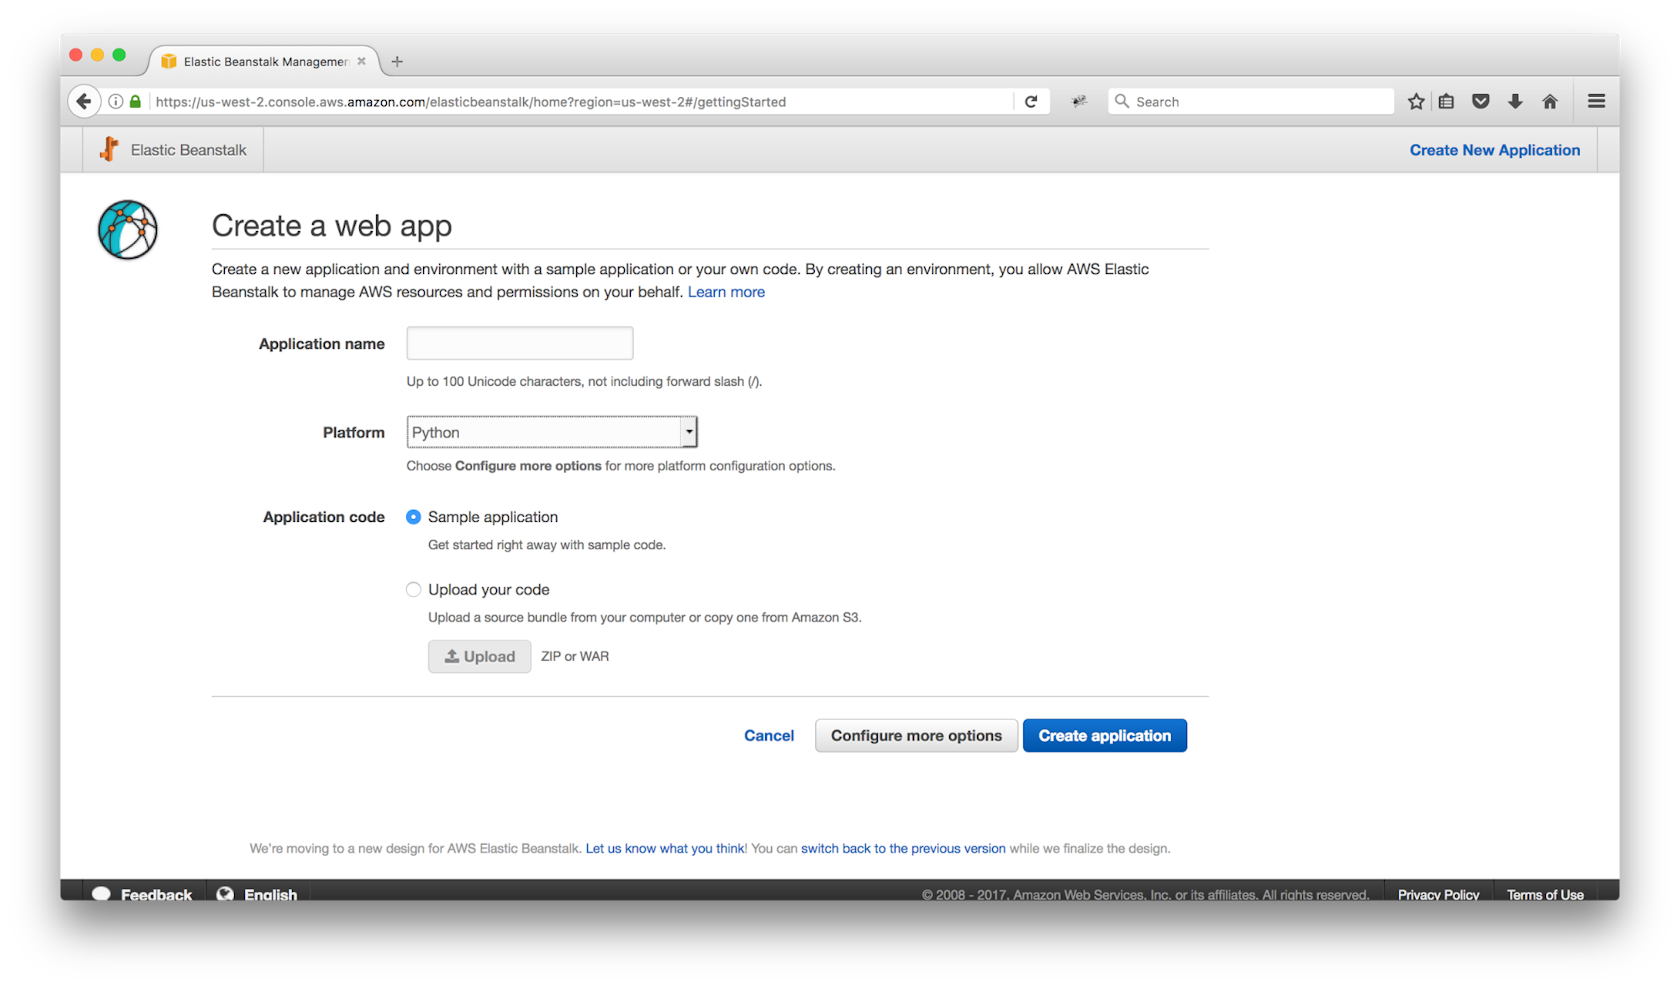
Then, we can enter the data necessary for program creation
For Django project deployment we need to create an environment and choose Web server environment tier
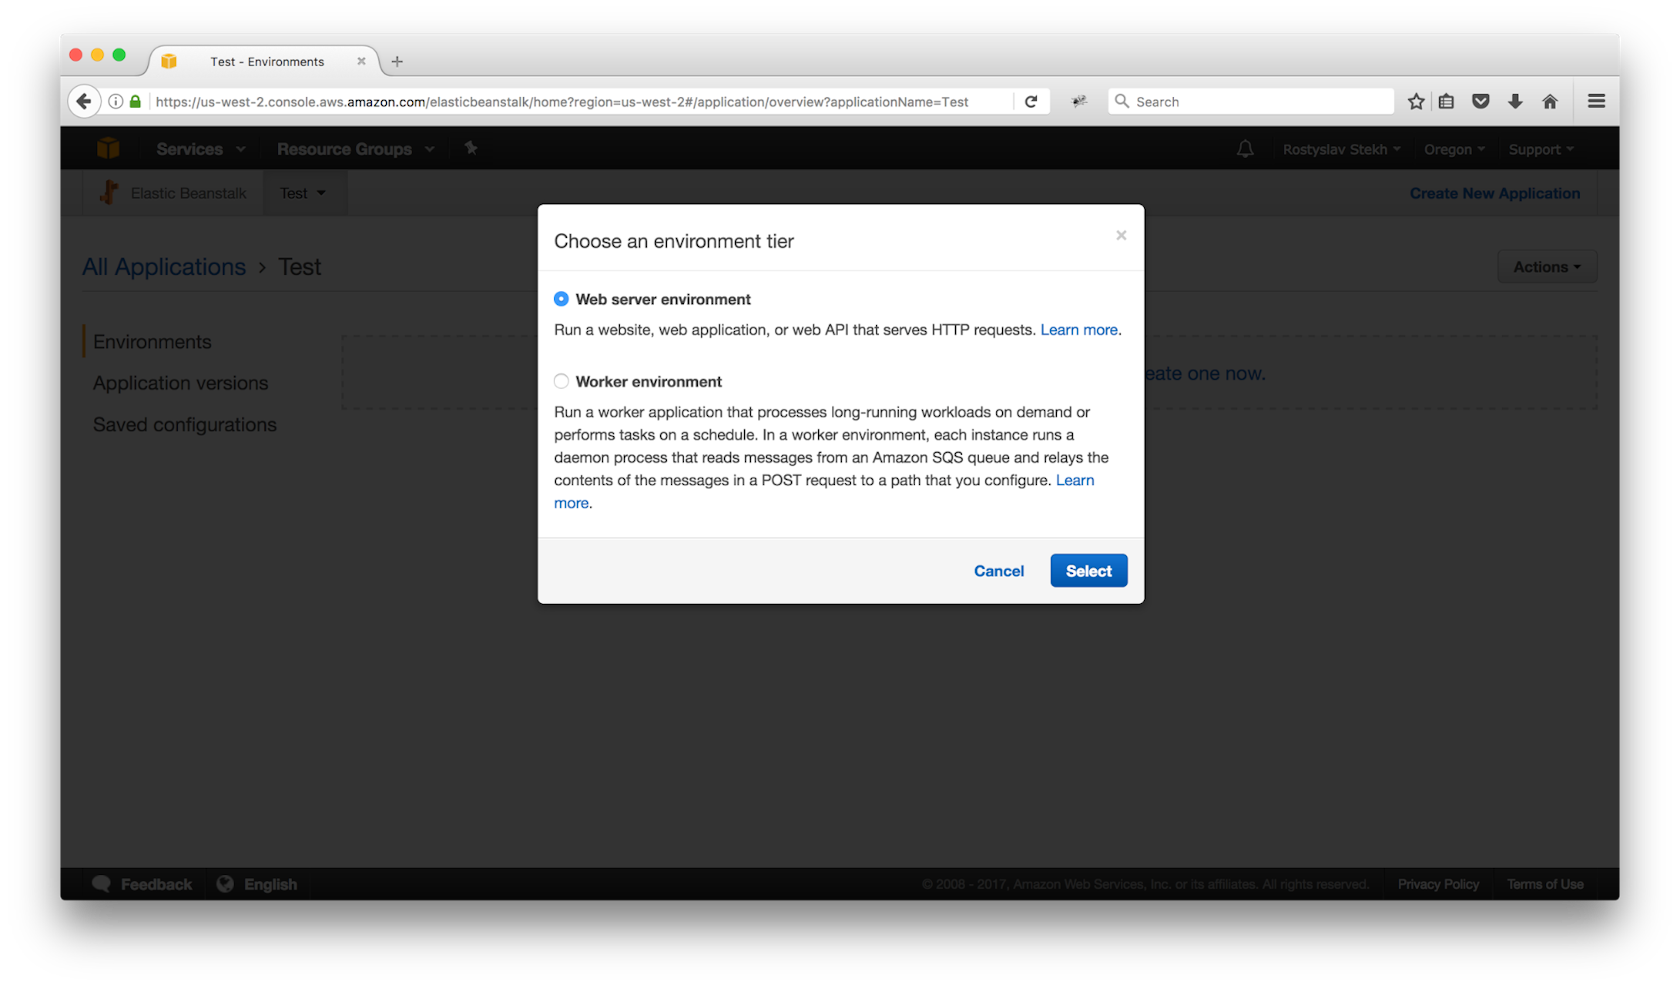
After that, we create work environment
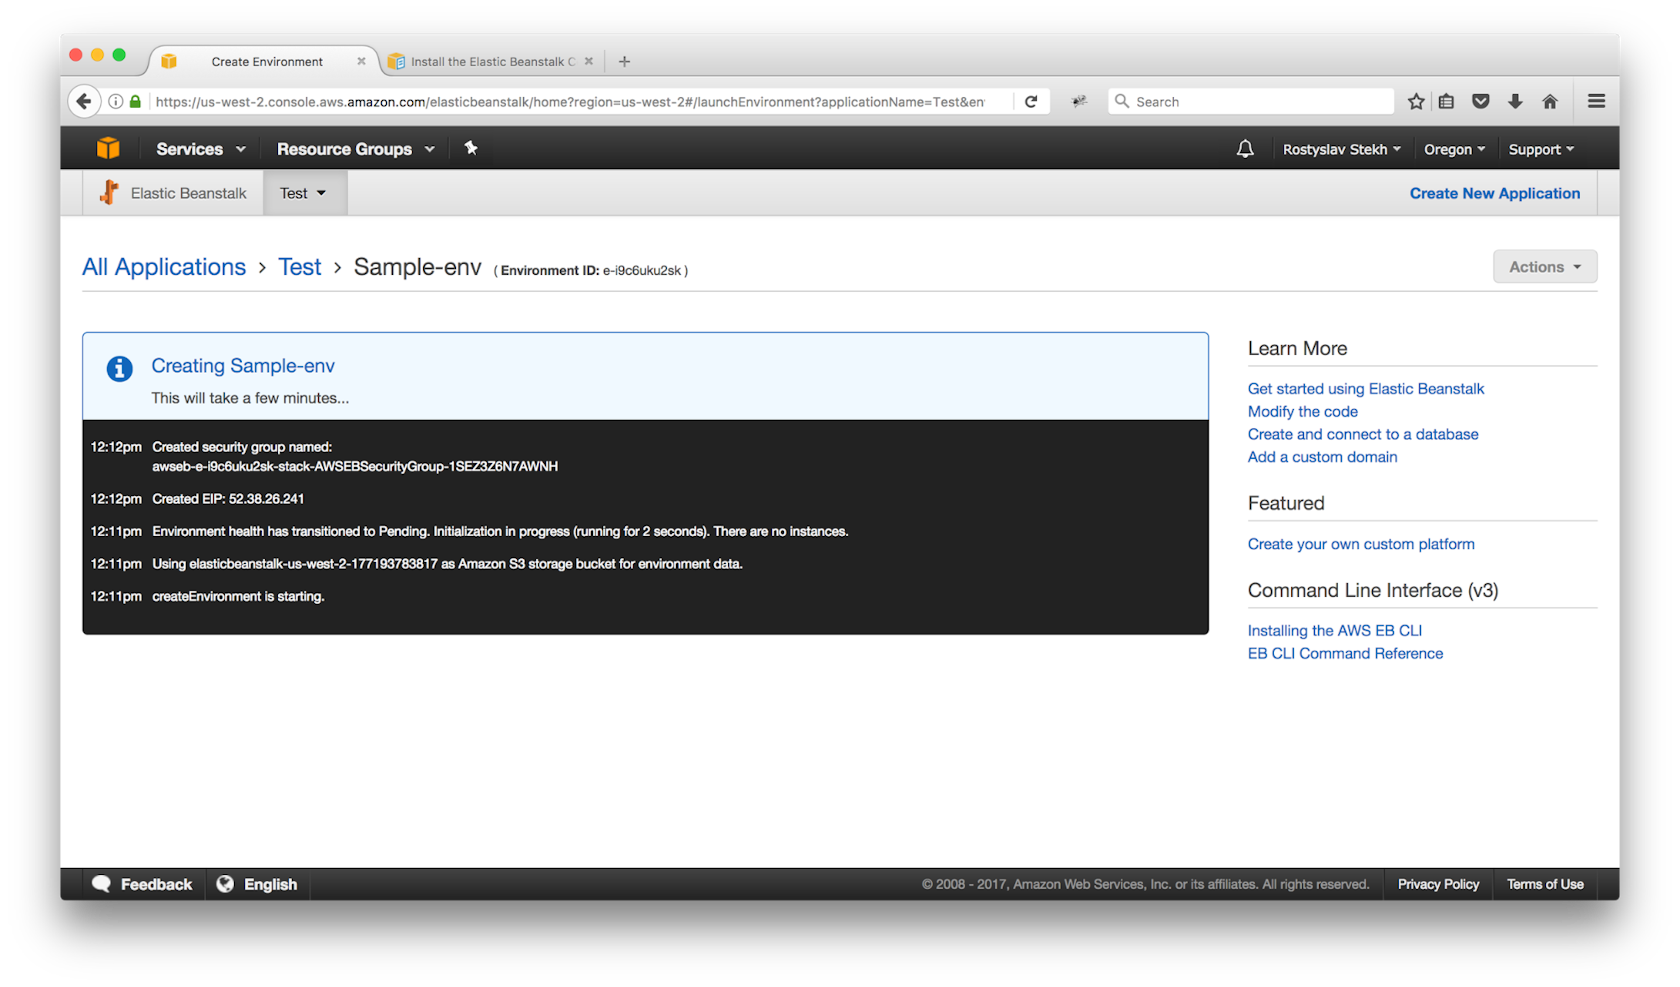
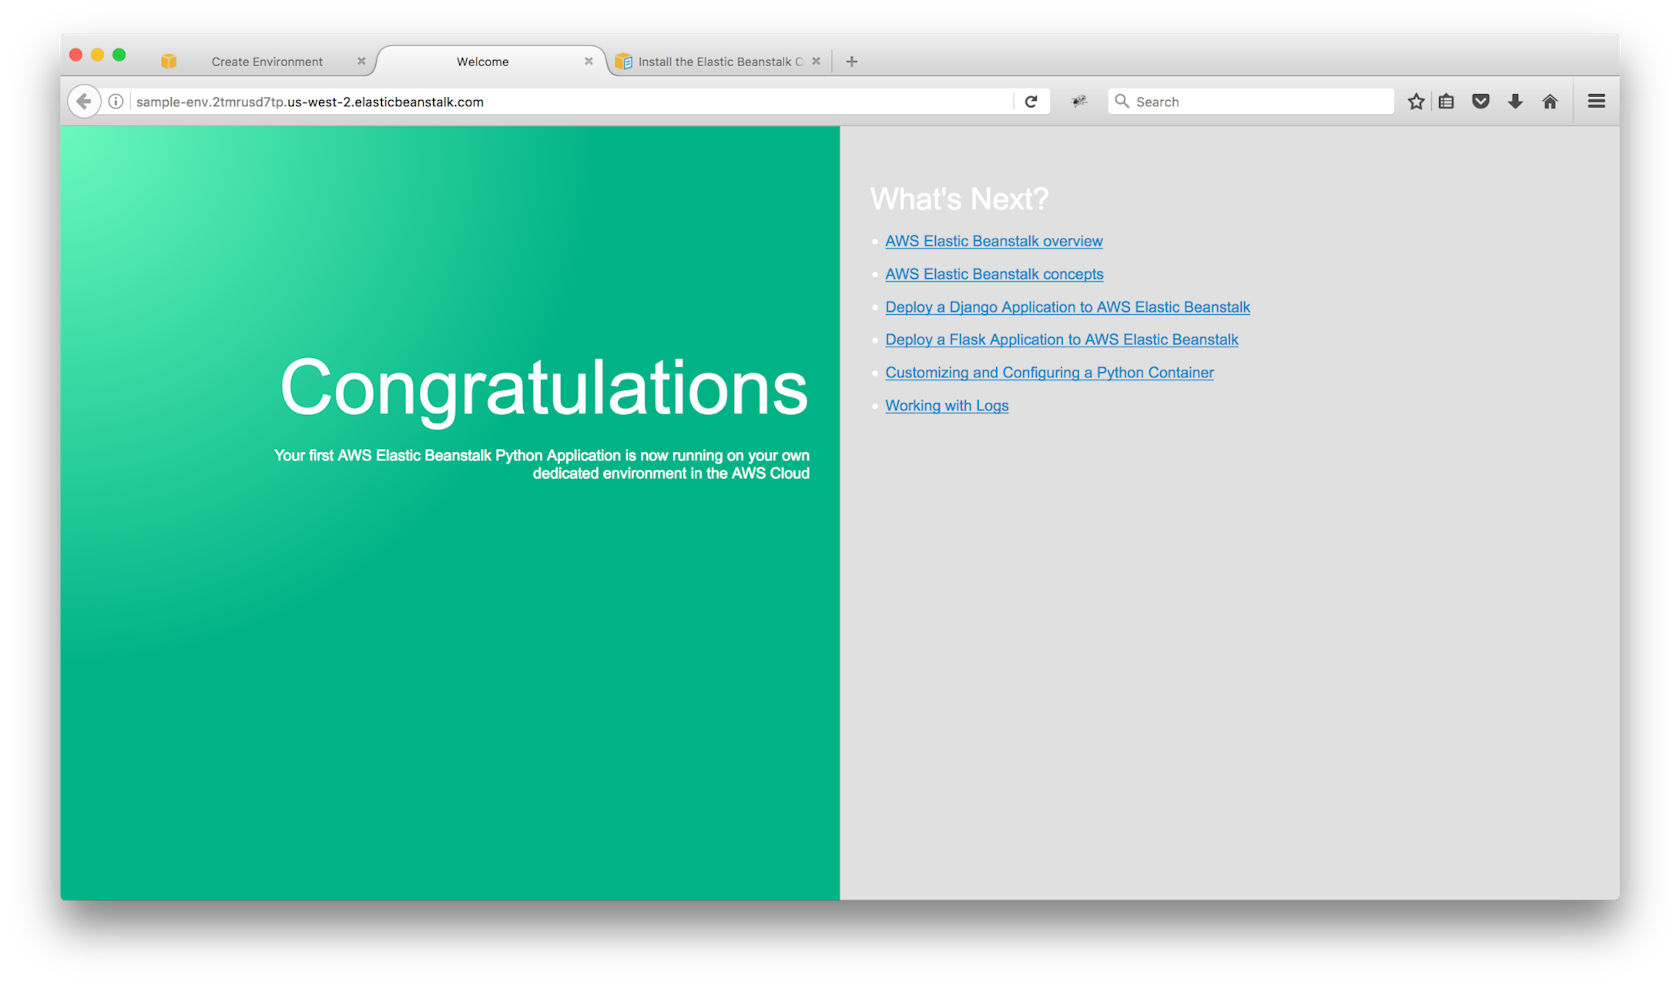
After creation is finished we can follow the link and find that simple app example has been created.
Initial deployment
More detailed example of the Django app deployment on elastic beanstalk I'll show using awsebcli, it's very simple
$ pip install awsebcliWe need to activate local work environment and create requirements.txt file with:
$ pip freeze > requirements.txt commandThis will help AWS Elastic Beanstalk to establish correct dependencies. After that we need to configure settings for beanstalk which can be easily done just by adding new folder .ebextensions with the file inside django.config to the root directory of the project. To that file we write:
option_settings:
  aws:elasticbeanstalk:container:python:
    WSGIPath: app_name/wsgi.py
This will show beanstalk where wsgi file is located.
Now we can proceed with project deployment. To that end, from the root directory we run a command eb init -p python2.7 django-app which initializes project in beanstalk, also we can use Python 3 by changing -p flag on python3.
Why we're doing this from root directory of the project? The aim here is for beanstalk to initialize and come up with the right project tree, otherwise project will simply not run.
Also, we can run the eb init command which allows to configure ssh keys for access to EC2 or, another way, we can change settings via command eb init -i
Using eb create env-name command we create work environment where beanstalk will deploy project.
After environment is created, additional information on it will be displayed and we can use the eb open command to open and look at deployed project through a generated link.
Updates deployment and migrations
In addition, to make work more comfortable we can set up administration panel. To do this we need to create migration python manage.py migrate and superuser via python manage.py createsuperuser command, add option STATIC_ROOT = 'static' to the django settings and collect static files via python manage.py collectstatic
If you want to skip all the aforementioned manual stuff and deploy django elastic beanstalk faster and more comfortable, just add the following contents to a django.config file:
container_commands:
  01_collectstatic:
    Command:"source /opt/python/run/env-name/bin/activate && python project_dir/manage.py collectstatic --noinput"
  02_migrate:
    Command:"source /opt/python/run/env-name/bin/activate && python project_dir/manage.py migrate --noinput"
    leader_only: true
To introduce all these changes to beanstalk and deploy django app on aws afterward, we need to run a command eb deploy And all will be up and running on a server side
We were using sqlite because it's simpler for education purposes, though this approach is no good for work on a production server - it's easier to work with RDS there, for example. To do so we need write to the settings:
if 'RDS_HOSTNAME' in os.environ:
    DATABASES = {
        'default': {
            'ENGINE': 'django.db.backends.postgresql_psycopg2',
            'NAME': os.environ['RDS_DB_NAME'],
            'USER': os.environ['RDS_USERNAME'],
            'PASSWORD': os.environ['RDS_PASSWORD'],
            'HOST': os.environ['RDS_HOSTNAME'],
            'PORT': os.environ['RDS_PORT'],
        }
    }
Also, don't forget to give beanstalk an access to rds. Information on how to do that you can find in official documentation
http://docs.aws.amazon.com/elasticbeanstalk/latest/dg/AWSHowTo.RDS.html
To make work more comfortable, you can expand the settings which are located in .ebextensions folder
That's all. As a result, we've got simple type of project that works and shows how one can easily deploy it using AWS Elastic Beanstalk. More information in that regard can be found on AWS website.


